

Adding a KNX Device
Use the Add Device button to integrate KNX devices into the nomos system Controller.
Steps to Create a New KNX Device:
Add Device:
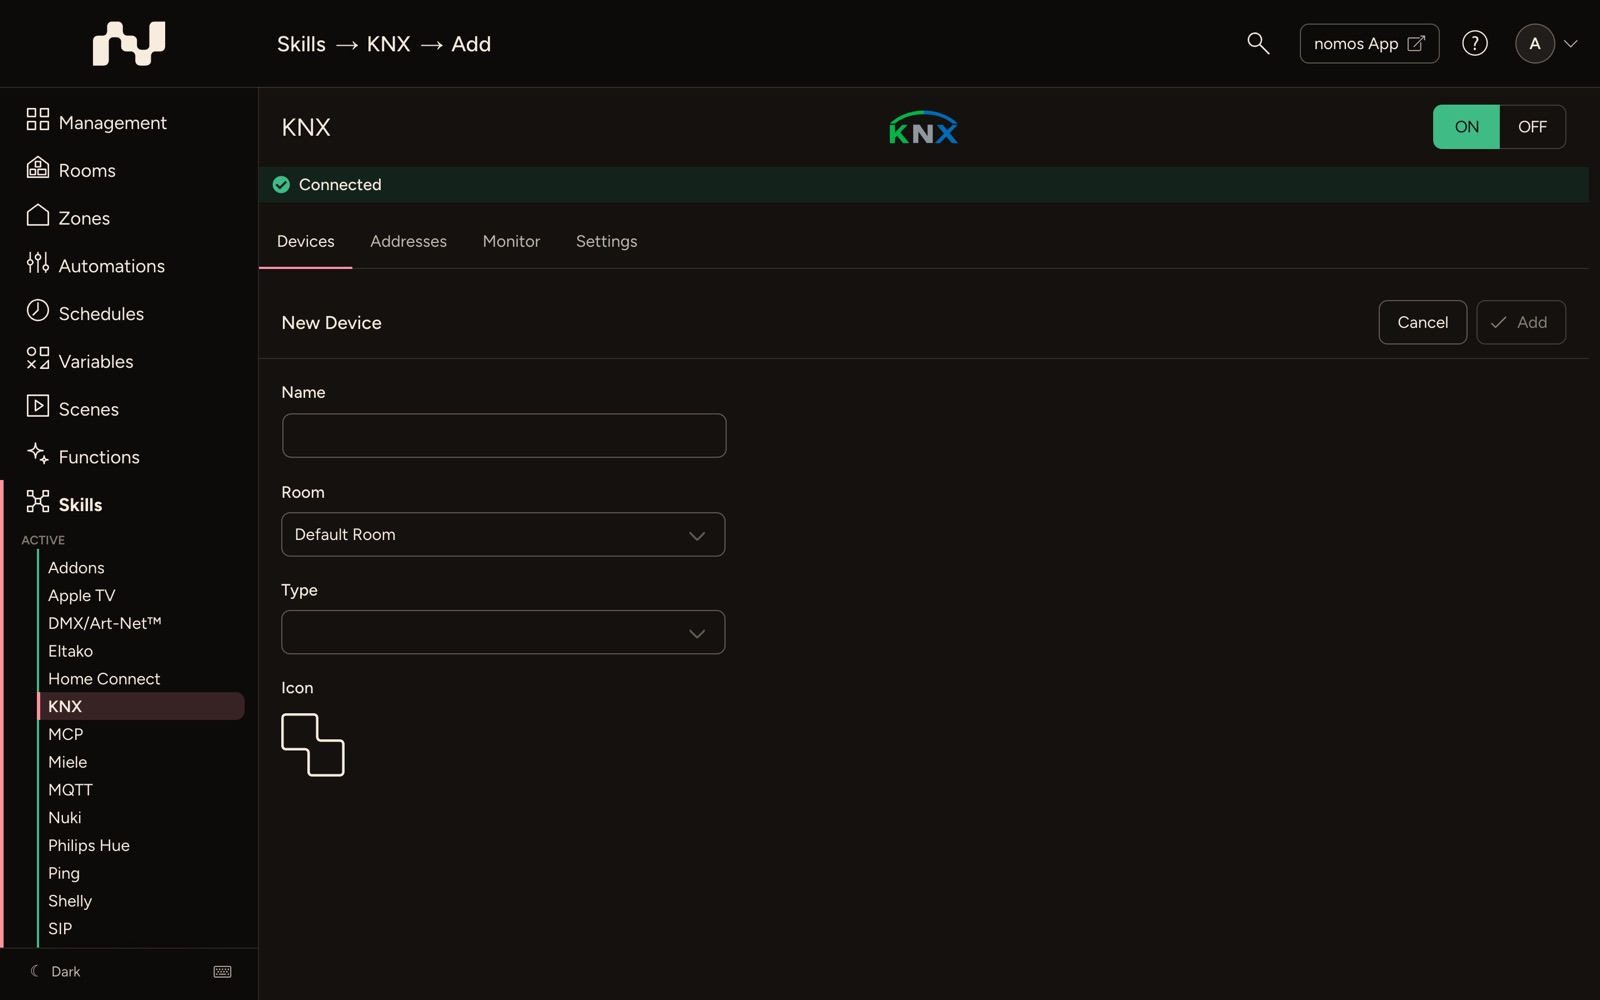
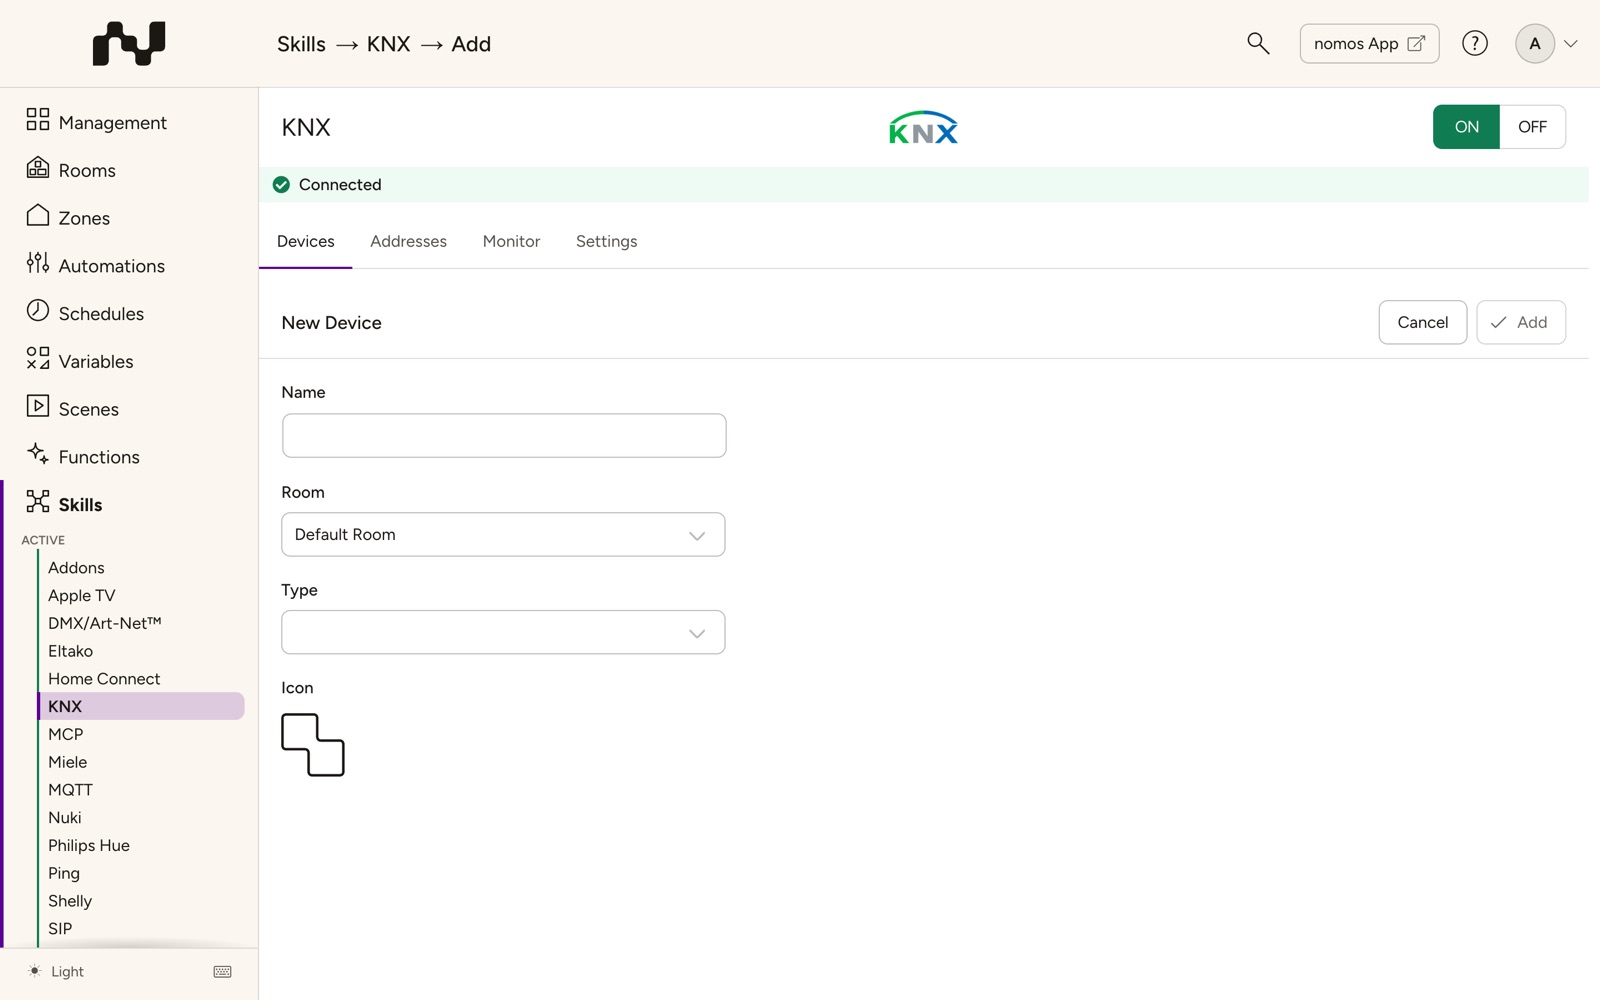
- Click on the Add Device button. The page for setting up the device opens. The bar at the top shows New Device on the left (once you enter a name, that name) and Cancel and Add on the right.
Name of the Device:
- Enter the desired name for the device, for example, "Licht Test".
Select Room:
- Choose the room where the device is located. In this example, it is the "Test" room.
Select Device Type:
Click on the drop-down menu labeled Type to select the device type.
Various device categories are available:
- Lighting: Dimmer, Dual Zone Dimmer, Light, RGB, RGBW
- Ventilation: Fan, Fan with Speed Control
- Window Shading: Shading, Window Covering without Position (separate Up/Down), Shading without Position, Shading without Angle
- Heating & Cooling: Heating, Heating (Setpoint Offset), Heat/Cool Status, Heating Cooling Thermostat, Room Controller, Room Controller (Shifting), Thermostat Variant TA
- Switches: Trigger, Switch, Scene, Up/Down/Stop Button
- Sensors: Alarm, Motion, CO2, Brightness, Contact, Presence Detector, Smart Meter, Temperature, etc.
- Security Systems: Door Lock (one address), Door Lock (separate addresses)
- Sun Protection: Sun Protection
- Doors: Garage Door, Garage Door (Impulse), Door
- Valves: Heating Valve, Valve
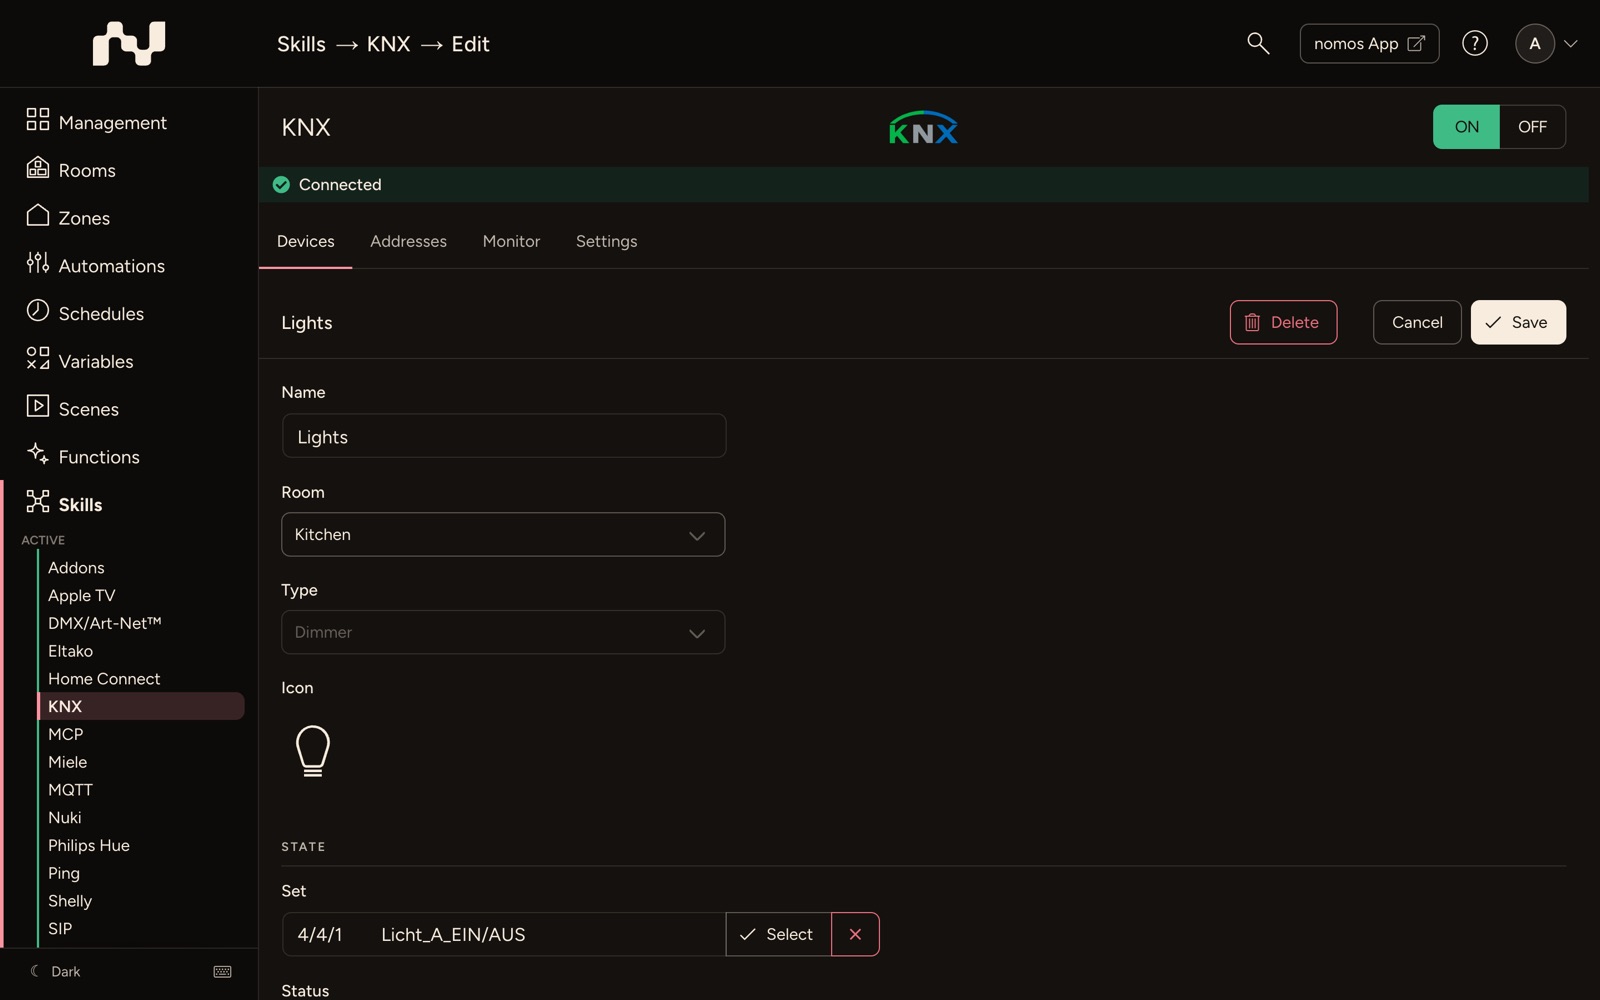
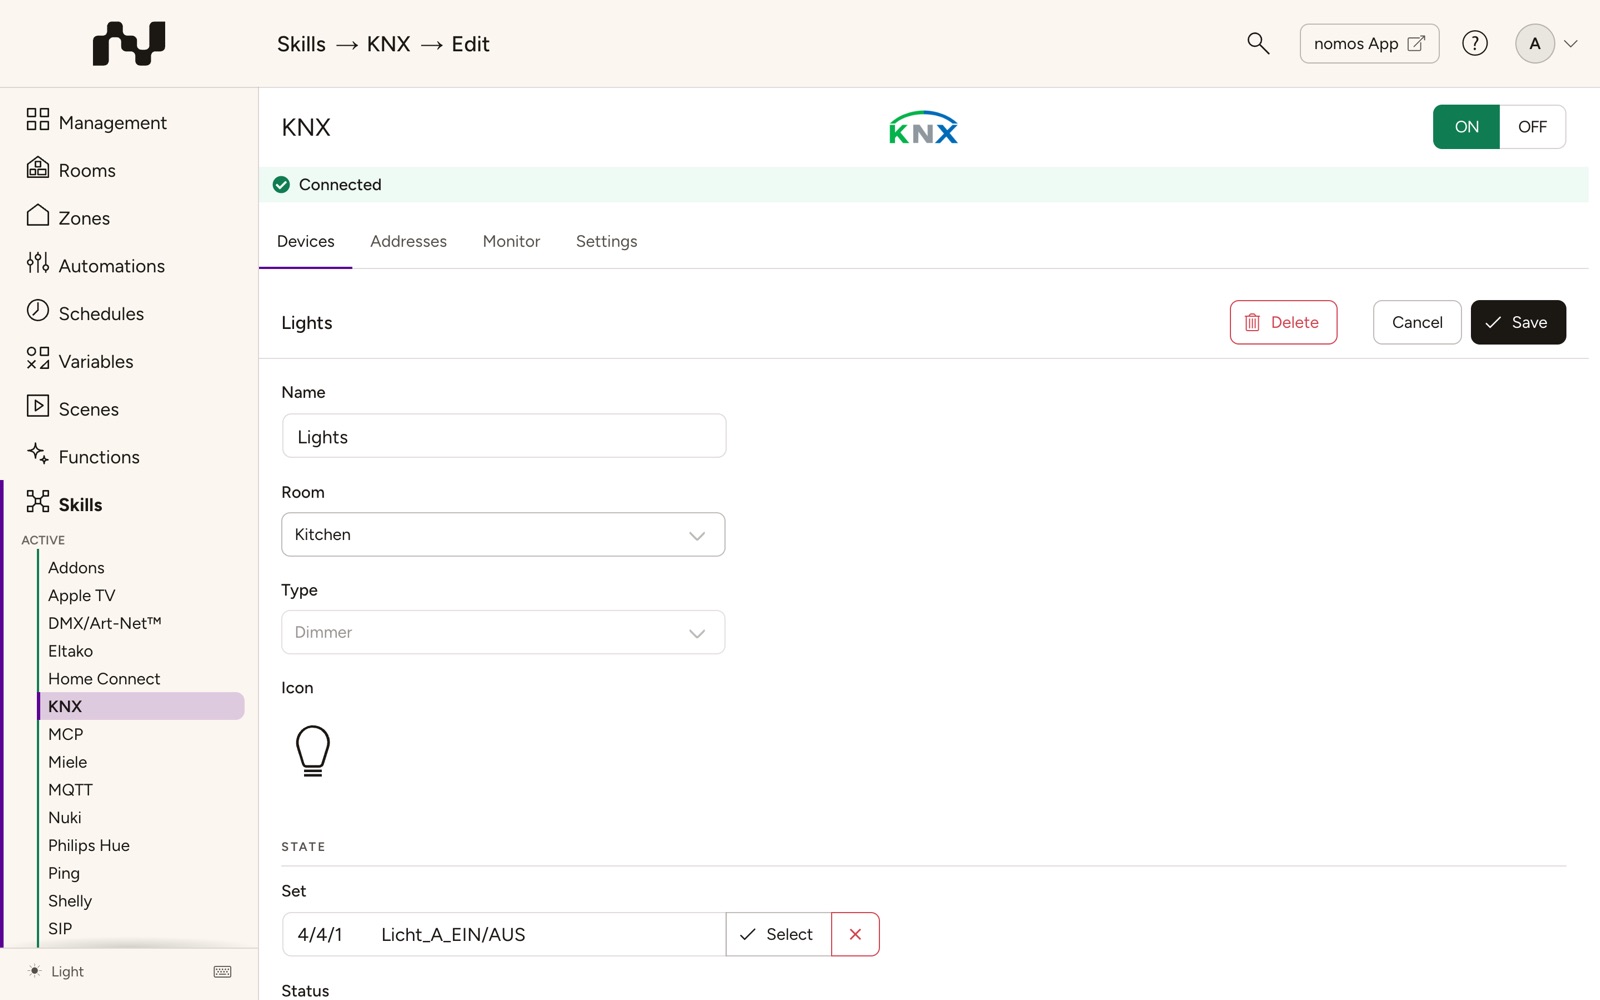
Enter Group Addresses:
- After selecting the device type, the columns for the group addresses available for this device will appear.
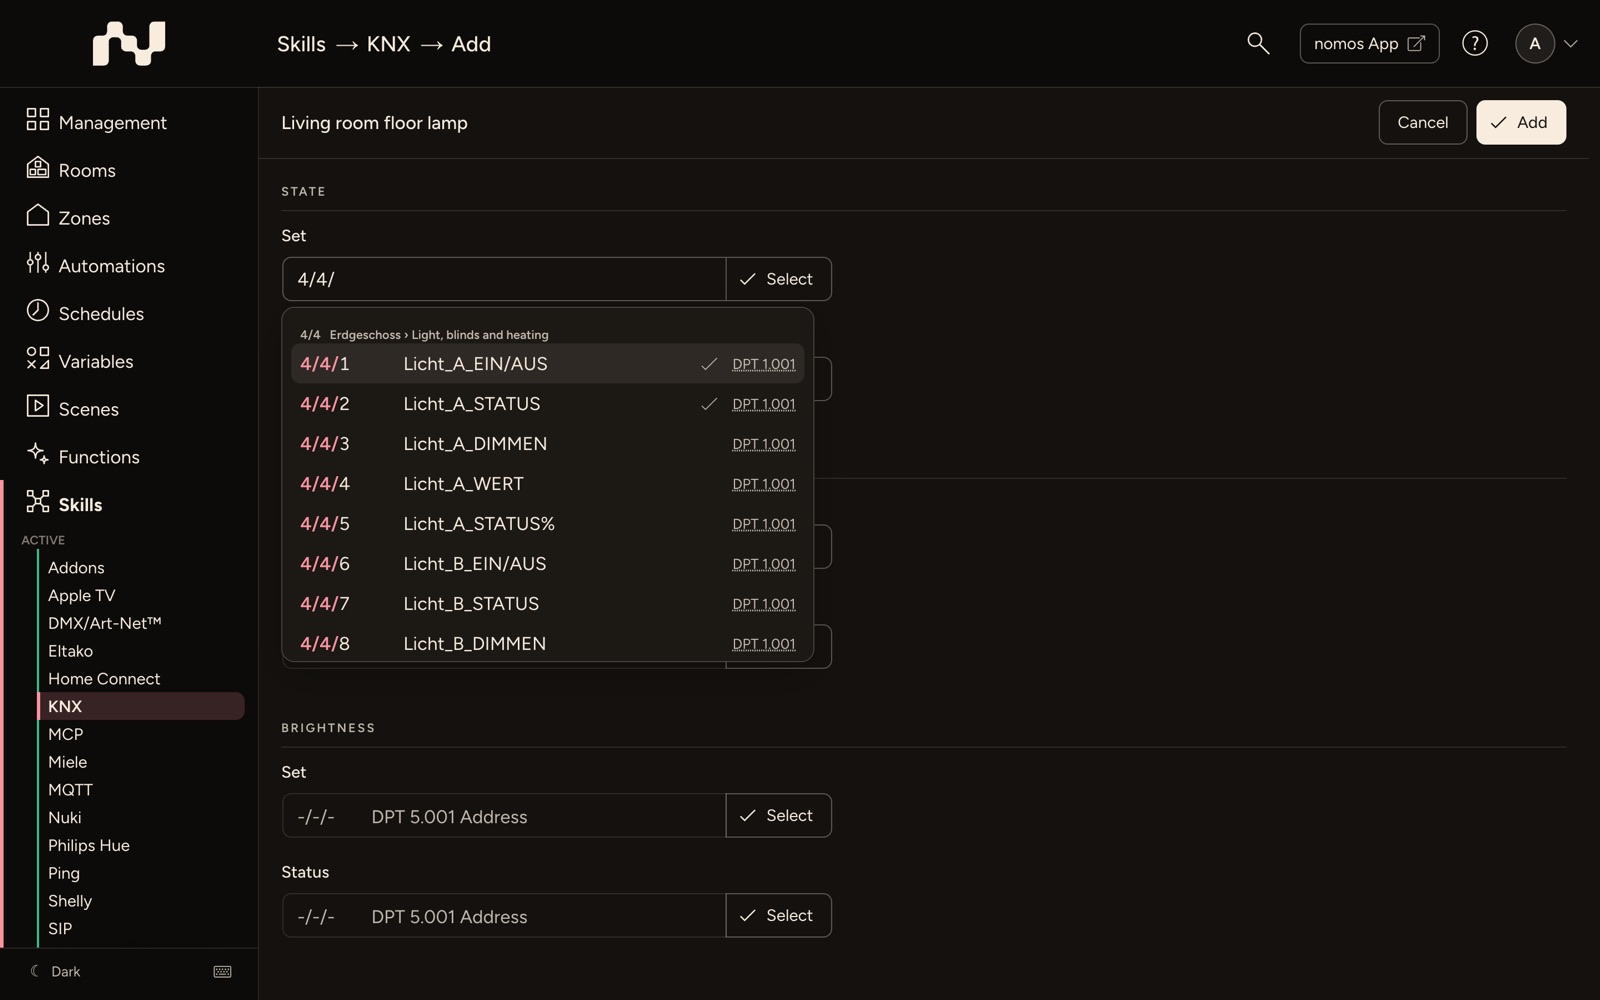
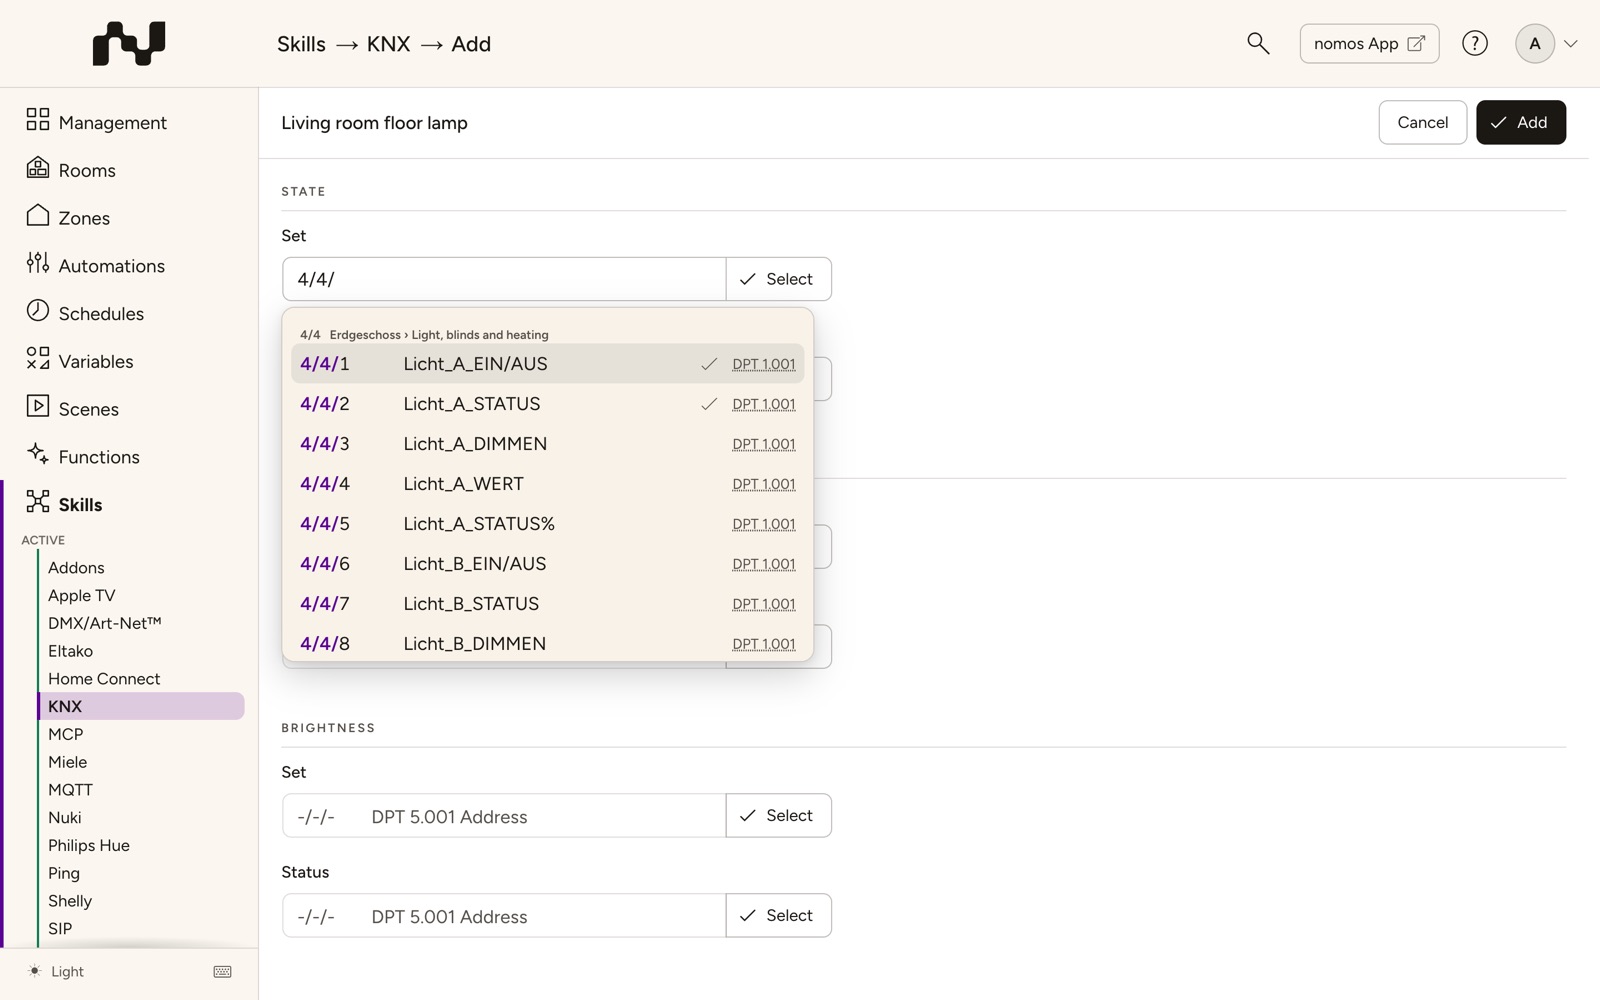
- In the individual fields, you can now add your desired group addresses. The matching group addresses appear under the field as soon as you type:
- An address or its start, e.g.
1/or1/2/, shows every address that begins with it. - Words, e.g.
light kitchen, search the address name and the names of its main and middle group from the KNX project. Every word must appear. - The hits are listed under their middle group and its name, e.g. 4/4 Ground floor › Lights. Only addresses whose datapoint type or size fits the field are offered. Addresses already used in a device carry a check mark.
- Pick a hit with the arrow keys; Enter or a click takes it (the first one if none is picked), Esc closes the list. The address name then appears next to the address.
- An address or its start, e.g.
- Alternatively, Select opens the list of all matching group addresses, ordered by middle group, with a search field that searches the same way. Take an address with the arrow keys and Enter or a click.
- A typed address that does not exist is marked red when you leave the field.
- It is not necessary to fill in all states or values for the desired device to appear in the app/Visu. You can also enter only individual group addresses (e.g., ON/OFF), and only this function will be available in the app/Visu.
- Note that the correct data types for the desired group addresses must be set in the ETS. If an incorrect datapoint type (DPT) is set there, it will be transferred to your nomos system Controller, and the function of this group address may not work correctly.
Final Steps:
- After filling in all the fields, click Add at the top right of the bar. The device will then be integrated into your nomos system Controller. Add only becomes available once all required entries are valid. Cancel discards the entries and takes you back.