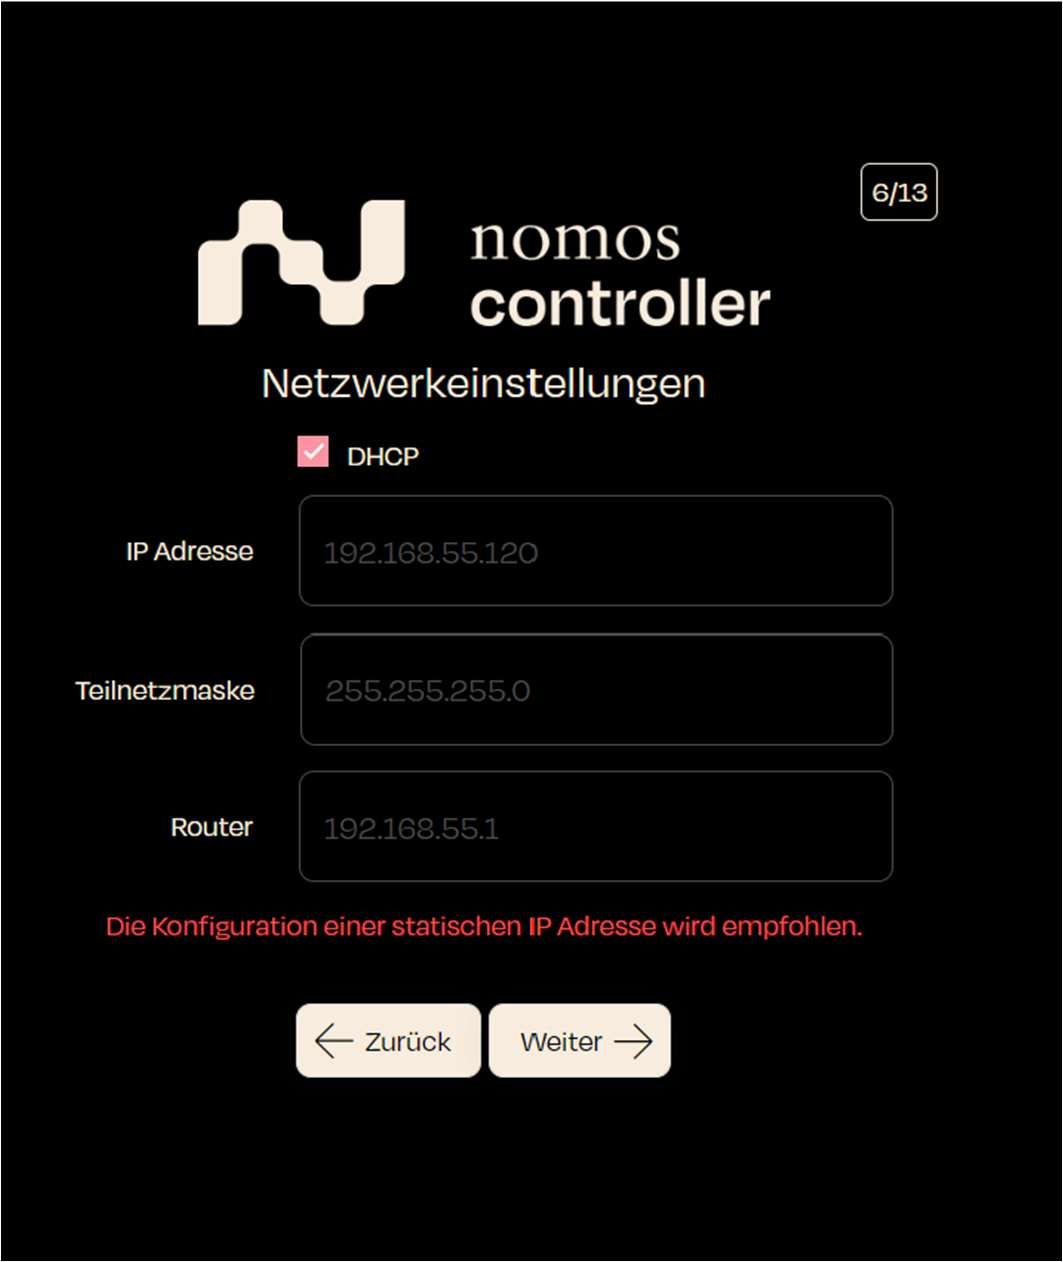

6. Network Settings
In the next step, you need to set up the network settings.
- Screen Display:
- Activate or deactivate the DHCP option. By default, DHCP is enabled, which means the IP address is assigned automatically.
- IP Adress: 192.168.55.120 (if DHCP is enabled, the IP will be assigned automatically)
- Subnet Mask: 255.255.255.0
- Router: 192.168.55.1
Note: It is recommended to configure a static IP address for a more stable network connection.
- Step: If you are using DHCP, make sure the boxes are filled out correctly. If configuring a static IP address, manually enter the required information.
- Next Step: Click on “Next” to continue with the setup.