
Cameras
Cameras can be added and managed to improve monitoring and security in your system.
Cameras Overview
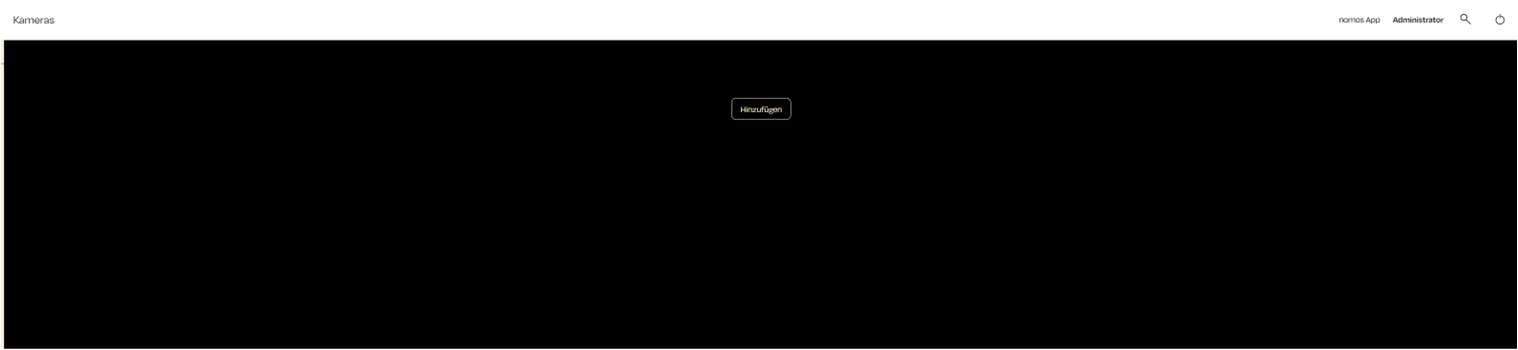
- The dashboard currently does not show any cameras because none have been added. To add a camera, click the "Add" button.
Add Camera
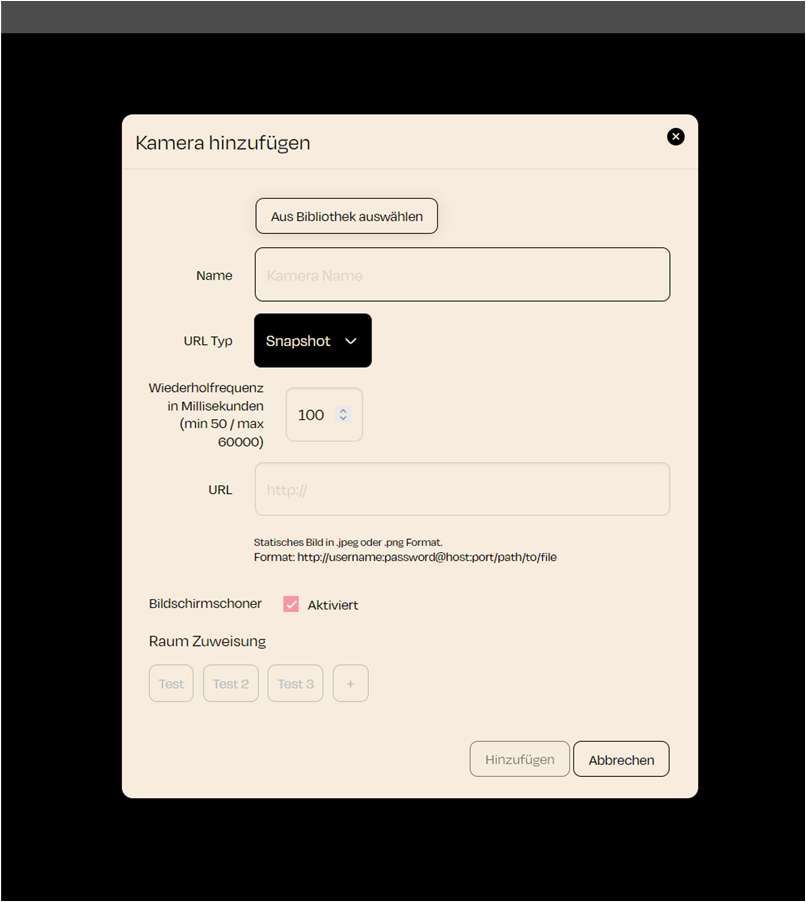
- When you click the "Add" button, a new window will open where you can enter the information for the new camera.
Select from Library
- If you want to add a camera that is already known in the system, you can click the "Select from Library" button. Otherwise, you can enter the data manually..
Camera Name
- Give the camera a unique name that describes its location or function. For example, "Front Door Camera" or "Office Surveillance".
URL Type
Select the URL type for the camera:
- Snapshot: For a still image.
- MJPEG or RTSP can also be selected depending on the camera type, if supported.
Refresh Rate (for Snapshots)
- Set the refresh rate in milliseconds. This determines how often the camera's image is updated. The range is between 50 and 60,000 milliseconds.
URL
- Insert the URL for the camera stream or for the snapshot. The format for a snapshot must be in static image format as .jpeg or .png. If a username and password are required, use the following format: http://username:password@host:port/path/to/file
Screensaver
- Option to display the camera in screen saver mode.
Room Assignment
- Assign the camera to a specific room to make organization and management easier.