Positioning Devices in a Room
The visualization function in the nomos system Controller allows you to graphically represent and personalize the structure of a room by uploading an image and positioning devices accordingly. This feature enhances the overview and simplifies device management.
Steps to Use the Visualization and Position Devices:
- Upload Image:
- After initiating the visualization function via the "Visu" button for a room, upload an image of the room, such as a floor plan or room layout.
- Step: Click "Upload Image" to select the image to be used for visualization.
- Manage Devices:
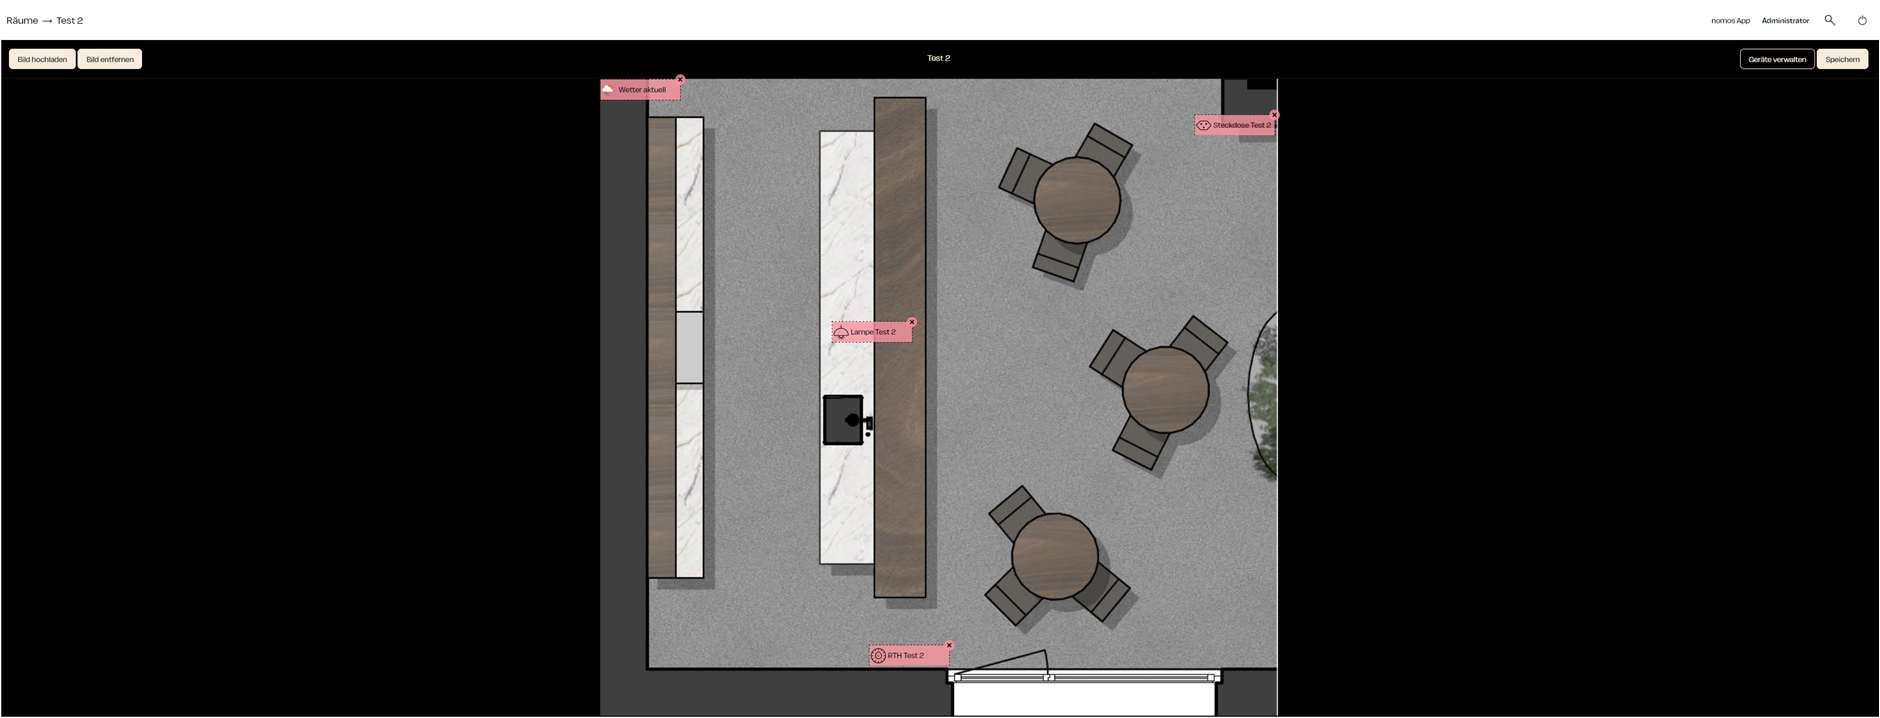
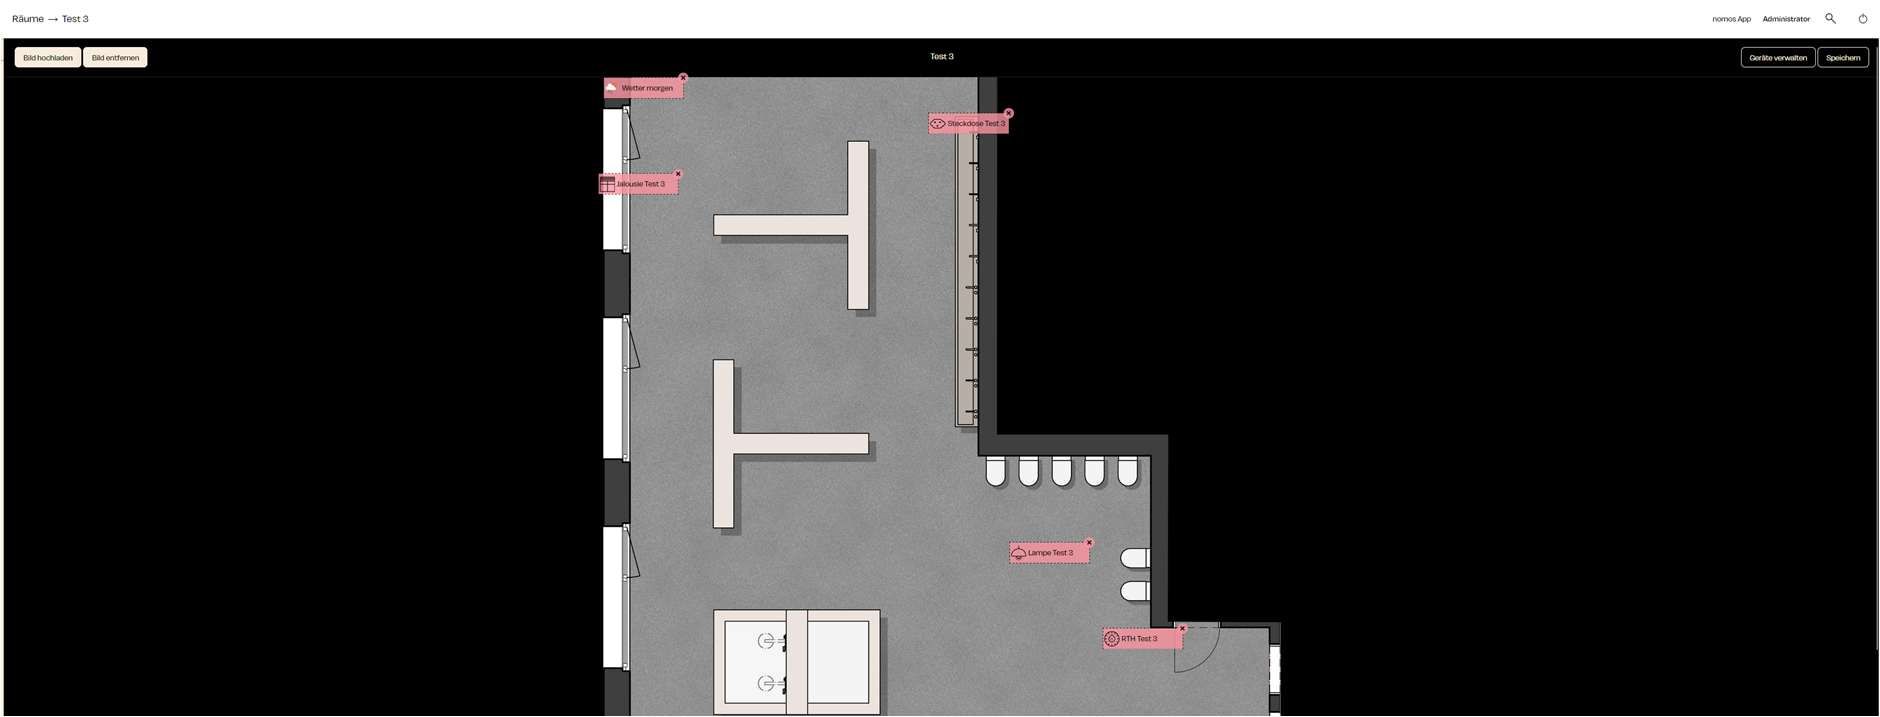
- Once the image is uploaded, devices assigned to the room appear as pink fields on the screen. Each of these fields represents a device, such as:
- Lampe Test 2
- RTH Test 2 (Thermostat)
- Steckdose Test 2 (Lighting)
- Current Weather
- These devices can now be placed on the image.
- Once the image is uploaded, devices assigned to the room appear as pink fields on the screen. Each of these fields represents a device, such as:
- Move Devices:
- The pink fields representing the devices can be freely moved on the image.
- Step: Drag each pink field to the location in the room where the respective device is physically situated, e.g., the lamp near a table or the socket on the wall.
- This flexible arrangement helps reflect the actual physical placement of devices in the room
- Save Visualization:
- After all devices are correctly placed on the image, click the "Save" button to secure the changes.
- This visualization remains saved and can be edited at any time.
- Remove Image:
- If you want to change or remove the image, you can click the “Remove Image” button and upload a new one.