
Users
In user management, you can manage user accounts, set permissions, and add new users.
User Overview
- Full Name: The full name of the user, below it their email address for notifications, if one is entered. For a deactivated user, Deactivated appears after the name.
- Username: The username for logging in.
- Group: The role of the user, such as "admin" or "user".
Actions
- Edit: At the top are Username and User Group; the username cannot be changed, the user group can be chosen from the list. Below follow Full Name, Status (with Active the user can sign in, without the tick not), E-Mail and Change Password. On your own account Status is missing and the user group is shown as text only. At the bottom is Usage Recording → "Attribute usage to this person": recording continues either way, this only decides whether recorded actions are linked to this person. Every person can set it themselves in the app as well.
- Permission (key icon): Defines which functions, rooms and scenes the user may see and operate, see item 6.
- Deactivate user or Activate user: Switches the account off or back on, like Status when editing; a deactivated user cannot sign in. For the default user "admin" and for your own account the button is disabled.
- Delete: Remove the user from the system.
Add User
- By clicking "Add User" (at the right above the list, next to Setup for new User), you can create a new user account. A form opens where you enter the username, user group, name, status and email address, see Adding a User – Step-by-Step.
Setup for new User
- Prepares the installation for handover to the customer: the password of "admin" is replaced, "guest" is disabled, existing users are deleted and new ones with random passwords are created. Remote access, mobile devices for push notifications and Matter are reset as well; every paired ecosystem must be paired again. Attention: This step cannot be undone. For details, see Configuration.
Group Membership
- The group membership determines a user's rights in the system. A user in the "admin" group has access to administrative functions, while a "user" has limited rights and can only use certain functions.
Permissions
With the key icon (Permission) in the user list you define what a user may see and operate. The settings are spread over three tabs. You can switch between the tabs without saving: Save in the bar at the top applies the changes of all three tabs at once, Cancel discards them.
Tab: Functions
Each function is set to Full Access (allowed) or Off (not allowed). Only functions this controller has are shown. The list has two sections:
General
Function With Full Access Node-RED The user can open Node-RED. Can only be changed for administrators. Push Notification The user receives push notifications on their mobile devices. Remote Access The user can connect to the system from anywhere via remote access. Background Image Upload The user can upload their own background images in the app. In-App
These items concern administrators only and can only be changed for them. They decide which areas an administrator can configure in the app under Settings: Rooms, Zones, Devices, Scenes, Schedules, Automations, Cloud, Matter/HAP and Settings. An item set to Off is missing from the app.
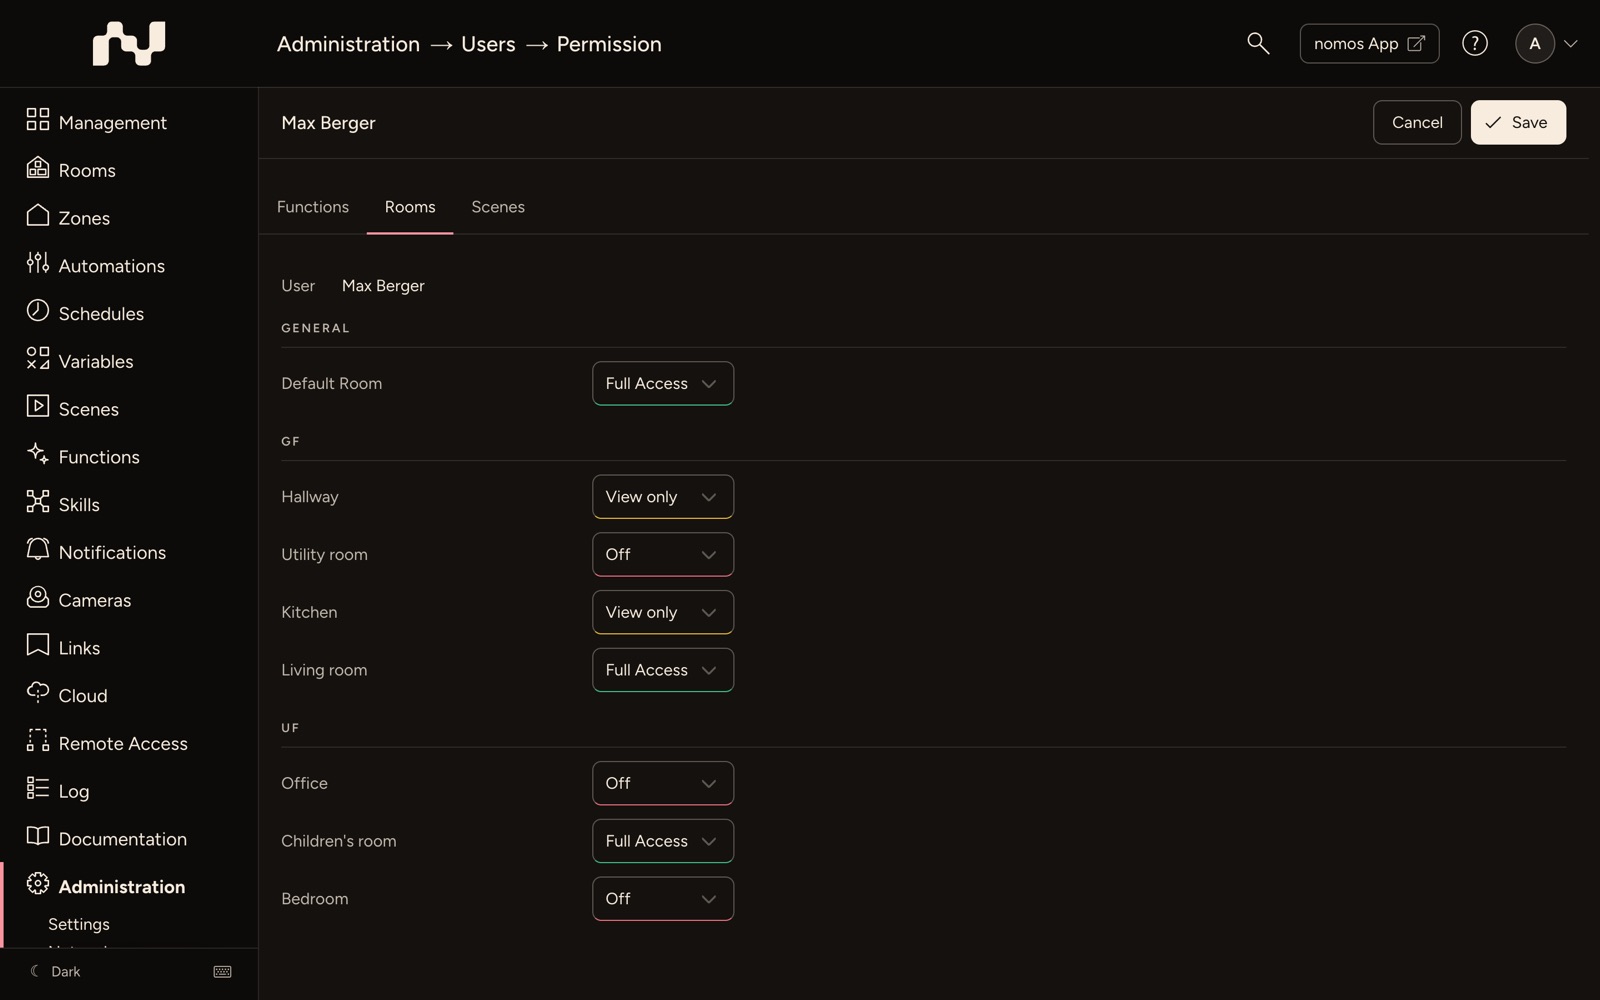
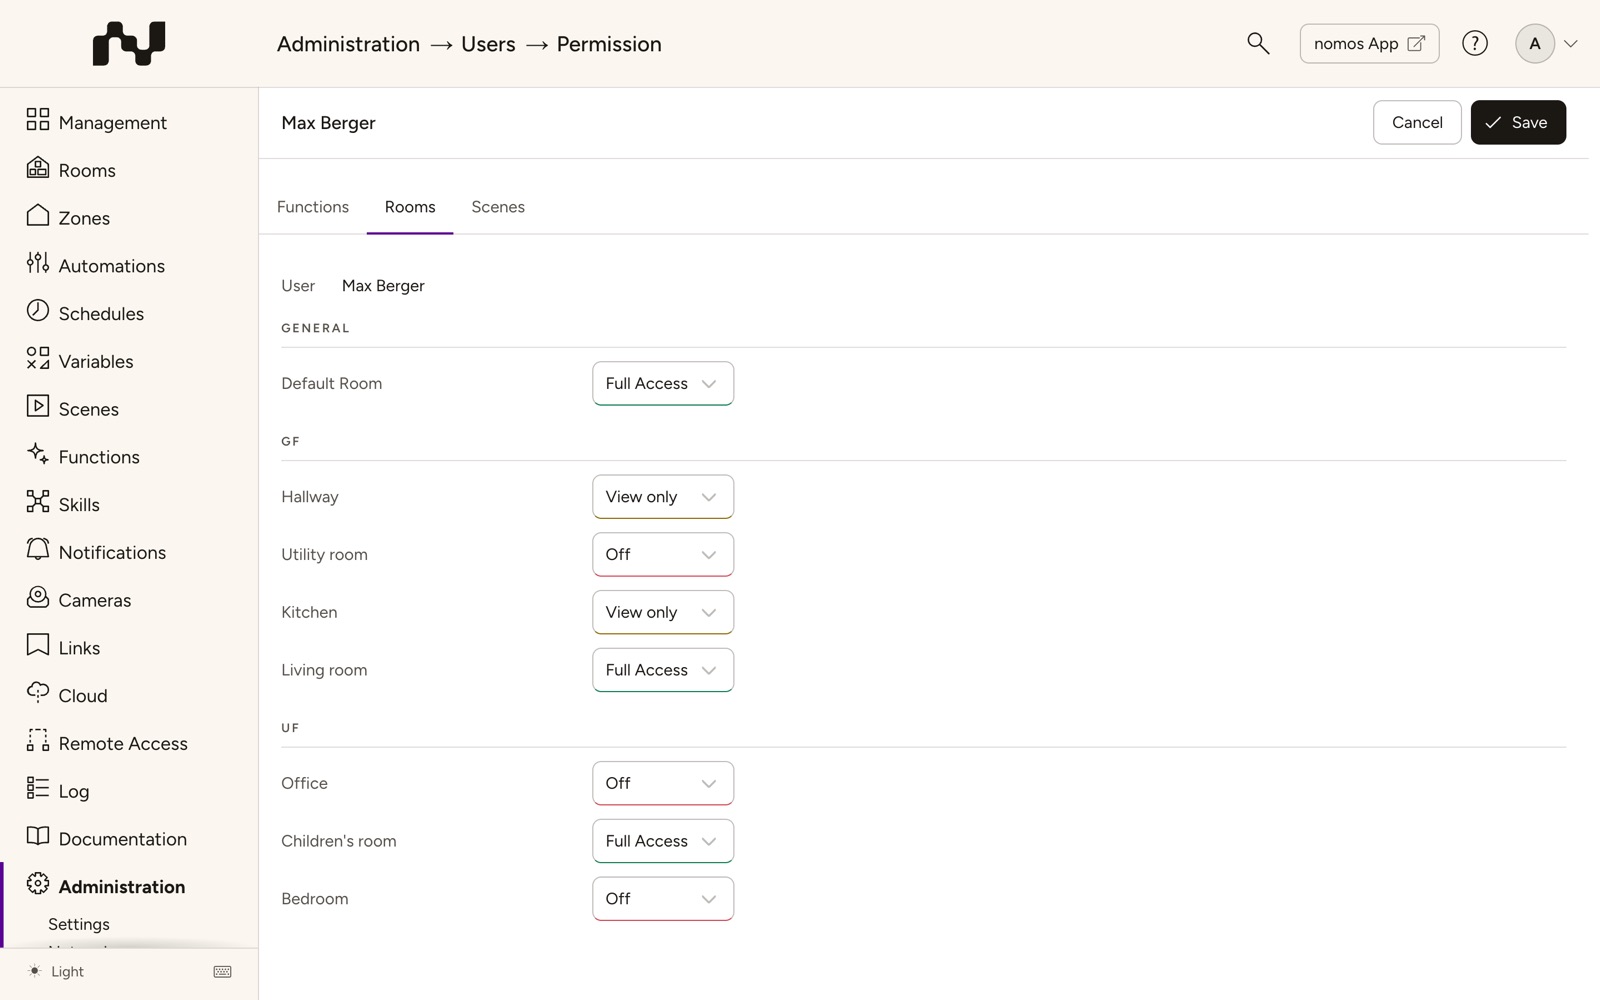
Tab: Rooms
Here you control access to individual rooms. General lists the rooms without a zone and the Default Room, followed by one section per zone (e.g. Ground Floor, Upper Floor). For each room you choose a level:
Level Description Full Access The user can see and control all devices in the room. View only The user can see the devices in the room but cannot control them. Off The room is not displayed for the user. Tab: Scenes
Here you define which scenes the user has access to. As long as there are no scenes, the tab is greyed out.
Level Description Full Access The user can see and execute the scene. Off The scene is not displayed for the user. INFO
By combining the three tabs, you can control precisely which parts of the system a user can see and operate. For example, you can create a user who can only see and control specific rooms, or one who can run scenes but cannot control devices directly.
WARNING
The default user "admin" cannot be restricted to rooms or scenes; the selection fields there are locked.
Incoming requests
In the Incoming requests tab, administrators can see pending access requests from users who have forgotten their password (see Forgot password).
- Shown are the username, device, the Confirmation code and the remaining validity.
- Compare the confirmation code with the one shown on the requesting device, then choose Approve or Decline.
- After approval, the user is logged in on their device with their own permissions.
- The list refreshes automatically.
INFO
An administrator can also approve another administrator's sign-in.