Adding a KNX Device
Use the Add Device button to integrate KNX devices into the nomos Controller.
Steps to Create a New KNX Device:
Add Device:
Click on the Add Device button. A window will open for setting up the device.
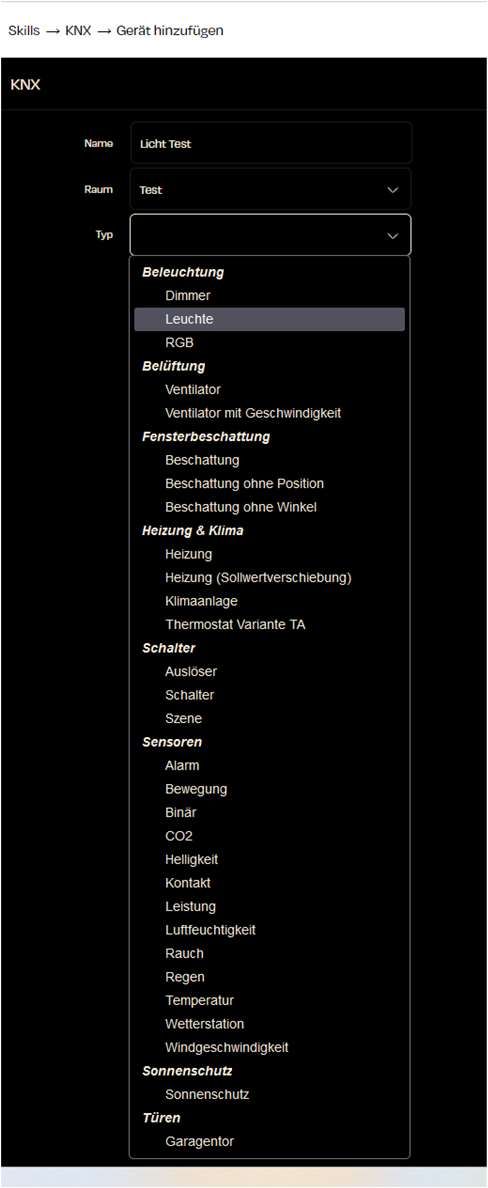
Name of the Device:
Enter the desired name for the device, for example, "Licht Test".
Select Room:
Choose the room where the device is located. In this example, it is the "Test" room.
Select Device Type:
Click on the drop-down menu labeled Type to select the device type.
Various device categories are available:
Lighting: Dimmer, Light, RGB
Ventilation: Fan, Fan with Speed Control
Window Shading: Shading, Shading without Position, Shading without Angle
Heating & Cooling: Heating, Heating (Setpoint Offset), Air Conditioner, Thermostat Variant TA
Switches: Trigger, Switch, Scene
Sensors: Alarm, Motion, CO2, Brightness, Contact, Temperature, etc.
Sun Protection: Sun Protection
Doors: Garage Door

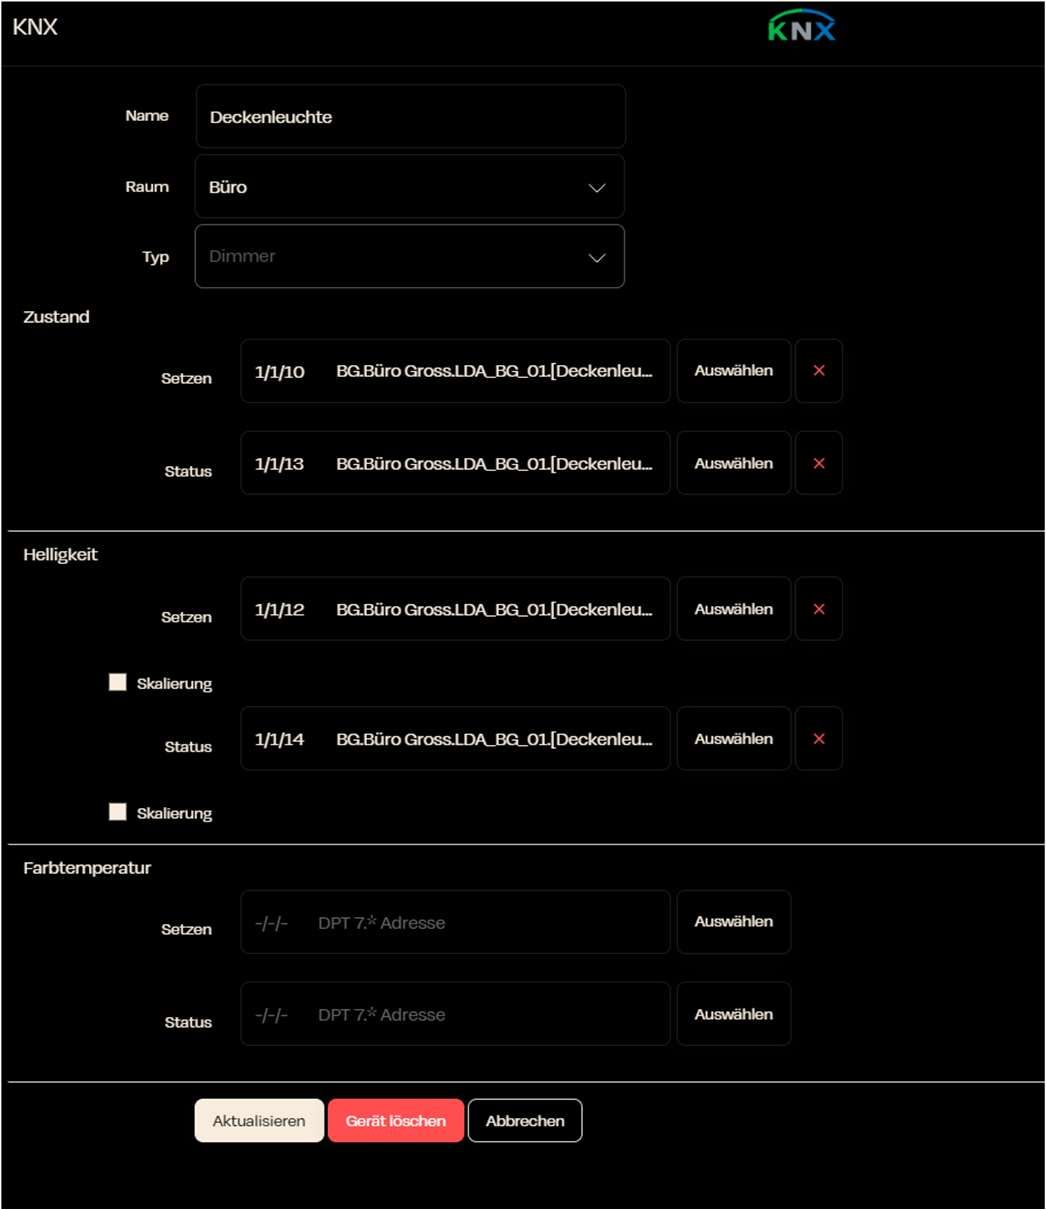
Enter Group Addresses:
After selecting the device type, the columns for the group addresses available for this device will appear.
In the individual fields, you can now add your desired group addresses.
It is not necessary to fill in all states or values for the desired device to appear in the app/Visio. You can also enter only individual group addresses (e.g., ON/OFF), and only this function will be available in the app/Visio.
Note that the correct data types for the desired group addresses must be set in the ETS. If they have an incorrect DPT rate, it will be transferred to your nomos Controller, and the function of this group address may not work correctly.

Final Steps:
After filling in all the fields, click on Create Device. The device will then be integrated into your nomos Controller.
Zuletzt aktualisiert