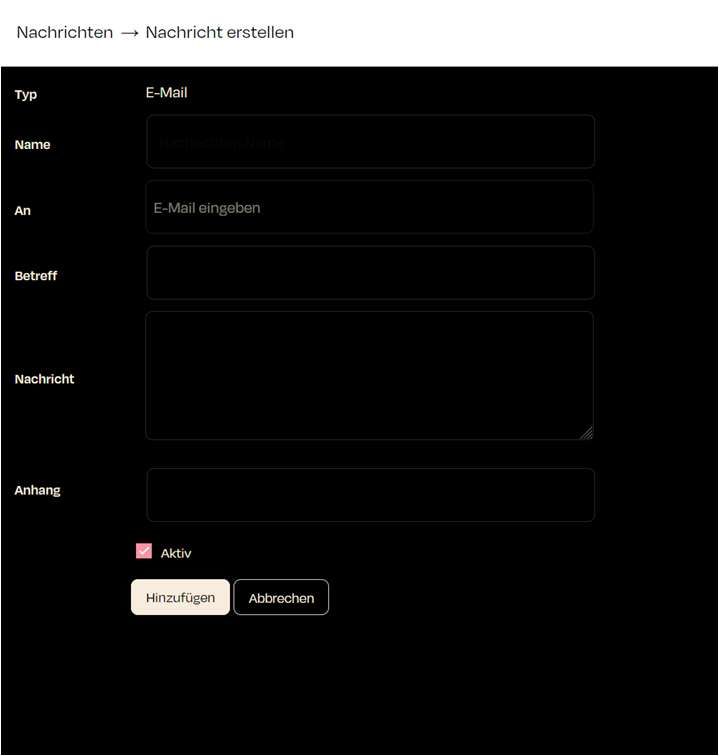
Create Notification - Step by Step
Type:
First, choose the type of notification you want by selecting one of the three main categories (Three available buttons -> Email / Push Notification or Log Message).
Name:
Give a unique name to the notification. This name will be shown in the overview and should describe the purpose of the notification.
To:
Enter the recipient's email address. For push notifications, you might enter a device ID or another identifier here.
Subject:
This is the subject of the email or message. It should be short and clear to inform the recipient about the content.
Message:
This is where you write the actual content of the message. This text can include more detailed information or instructions.
Attachment:
You can optionally attach files to the email that the recipient will receive along with the message. This could be, for example, a log file.
Active: By checking this box, you ensure that the message will be used immediately after saving. If you uncheck this option, the message will be saved but not sent out actively.

Zuletzt aktualisiert